Rumours abounded of a ‘hellish machine’ devised by the Rebels for use along the lower reaches of the Mississippi. In order to ensure that the waterways were kept free from Rebel interference a small Union flotilla was tasked with finding and, if possible, destroying the Confederate ship or any others they found.

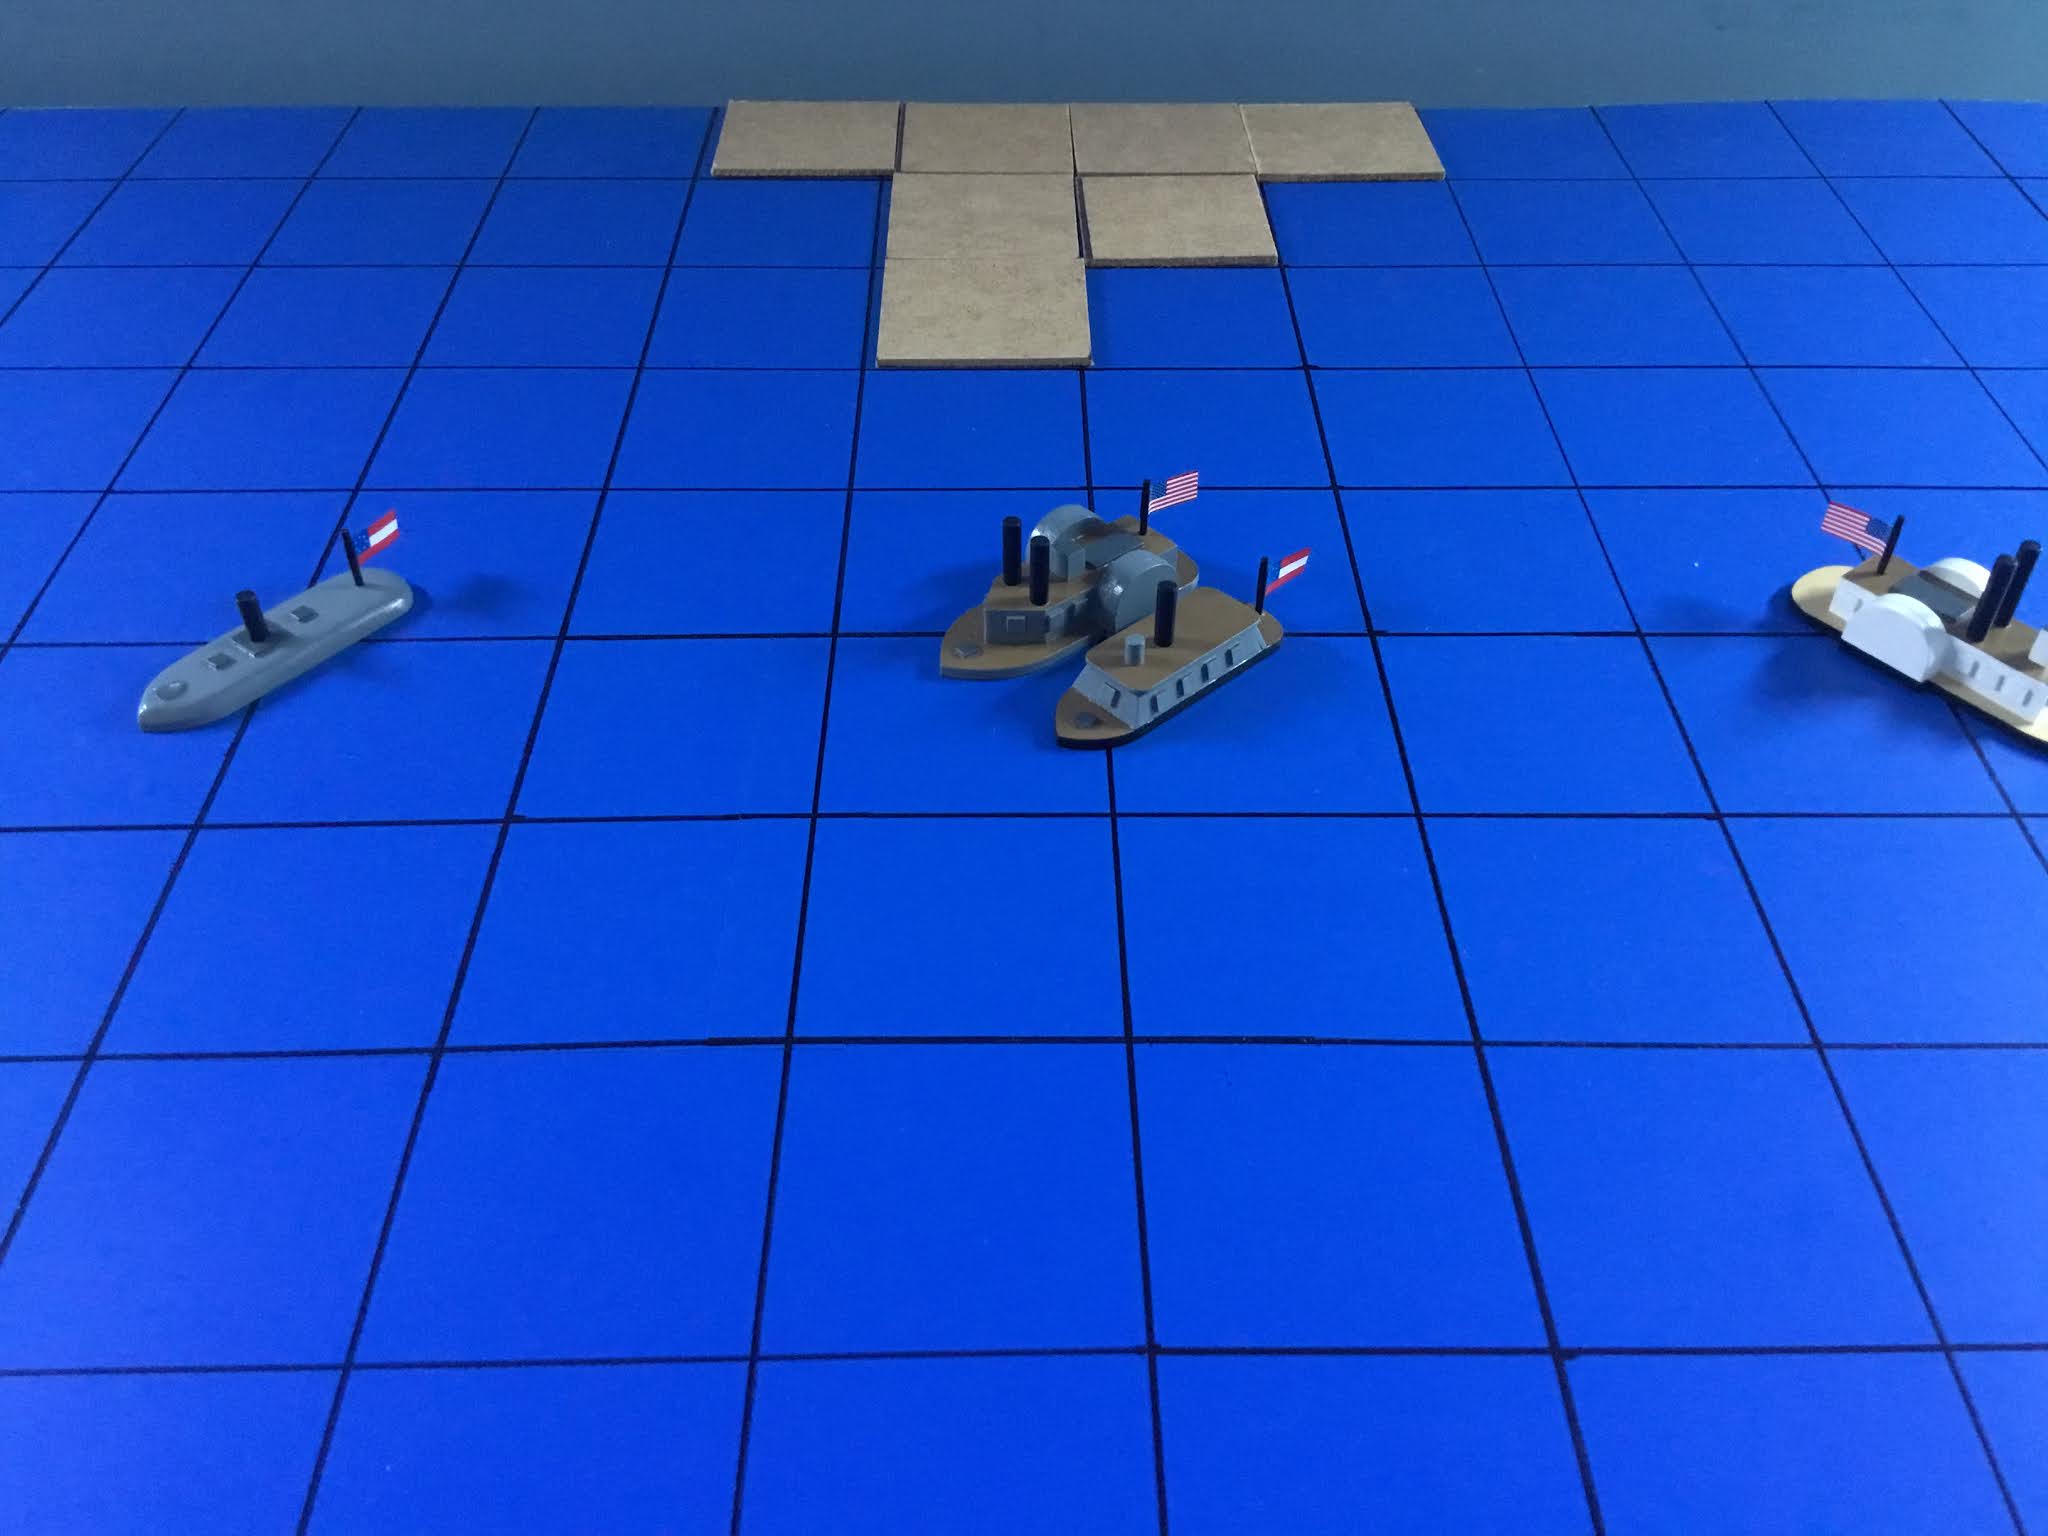
With the U.S.S. Carondelet leading followed by the U.S.S. Queen of the West and the U.S.S. Switzerland, the Union column snakes its way along the lower reaches of the Mississippi
The Union force comprised the U.S.S. Carondelet, the U.S.S. Queen of the West and the U.S.S. Switzerland. The former vessel had overall command of the expedition and the two accompanying rams were to provide support to the gunboat.

The C.S.S.Manassas turns its face the oncoming Union ships with the C.S.S. Little Rebel ready to provide support
The Confederate force consisted of the C.S.S. Manassas with the C.S.S. Little Rebel as escort. The Confederate ships were similarly tasked with patrolling the waterway and clearing any Union forces present if possible.
Turn 1. No firing so straight on to initiative. Union 1 Confederate 3 - the Union are forced to move first.

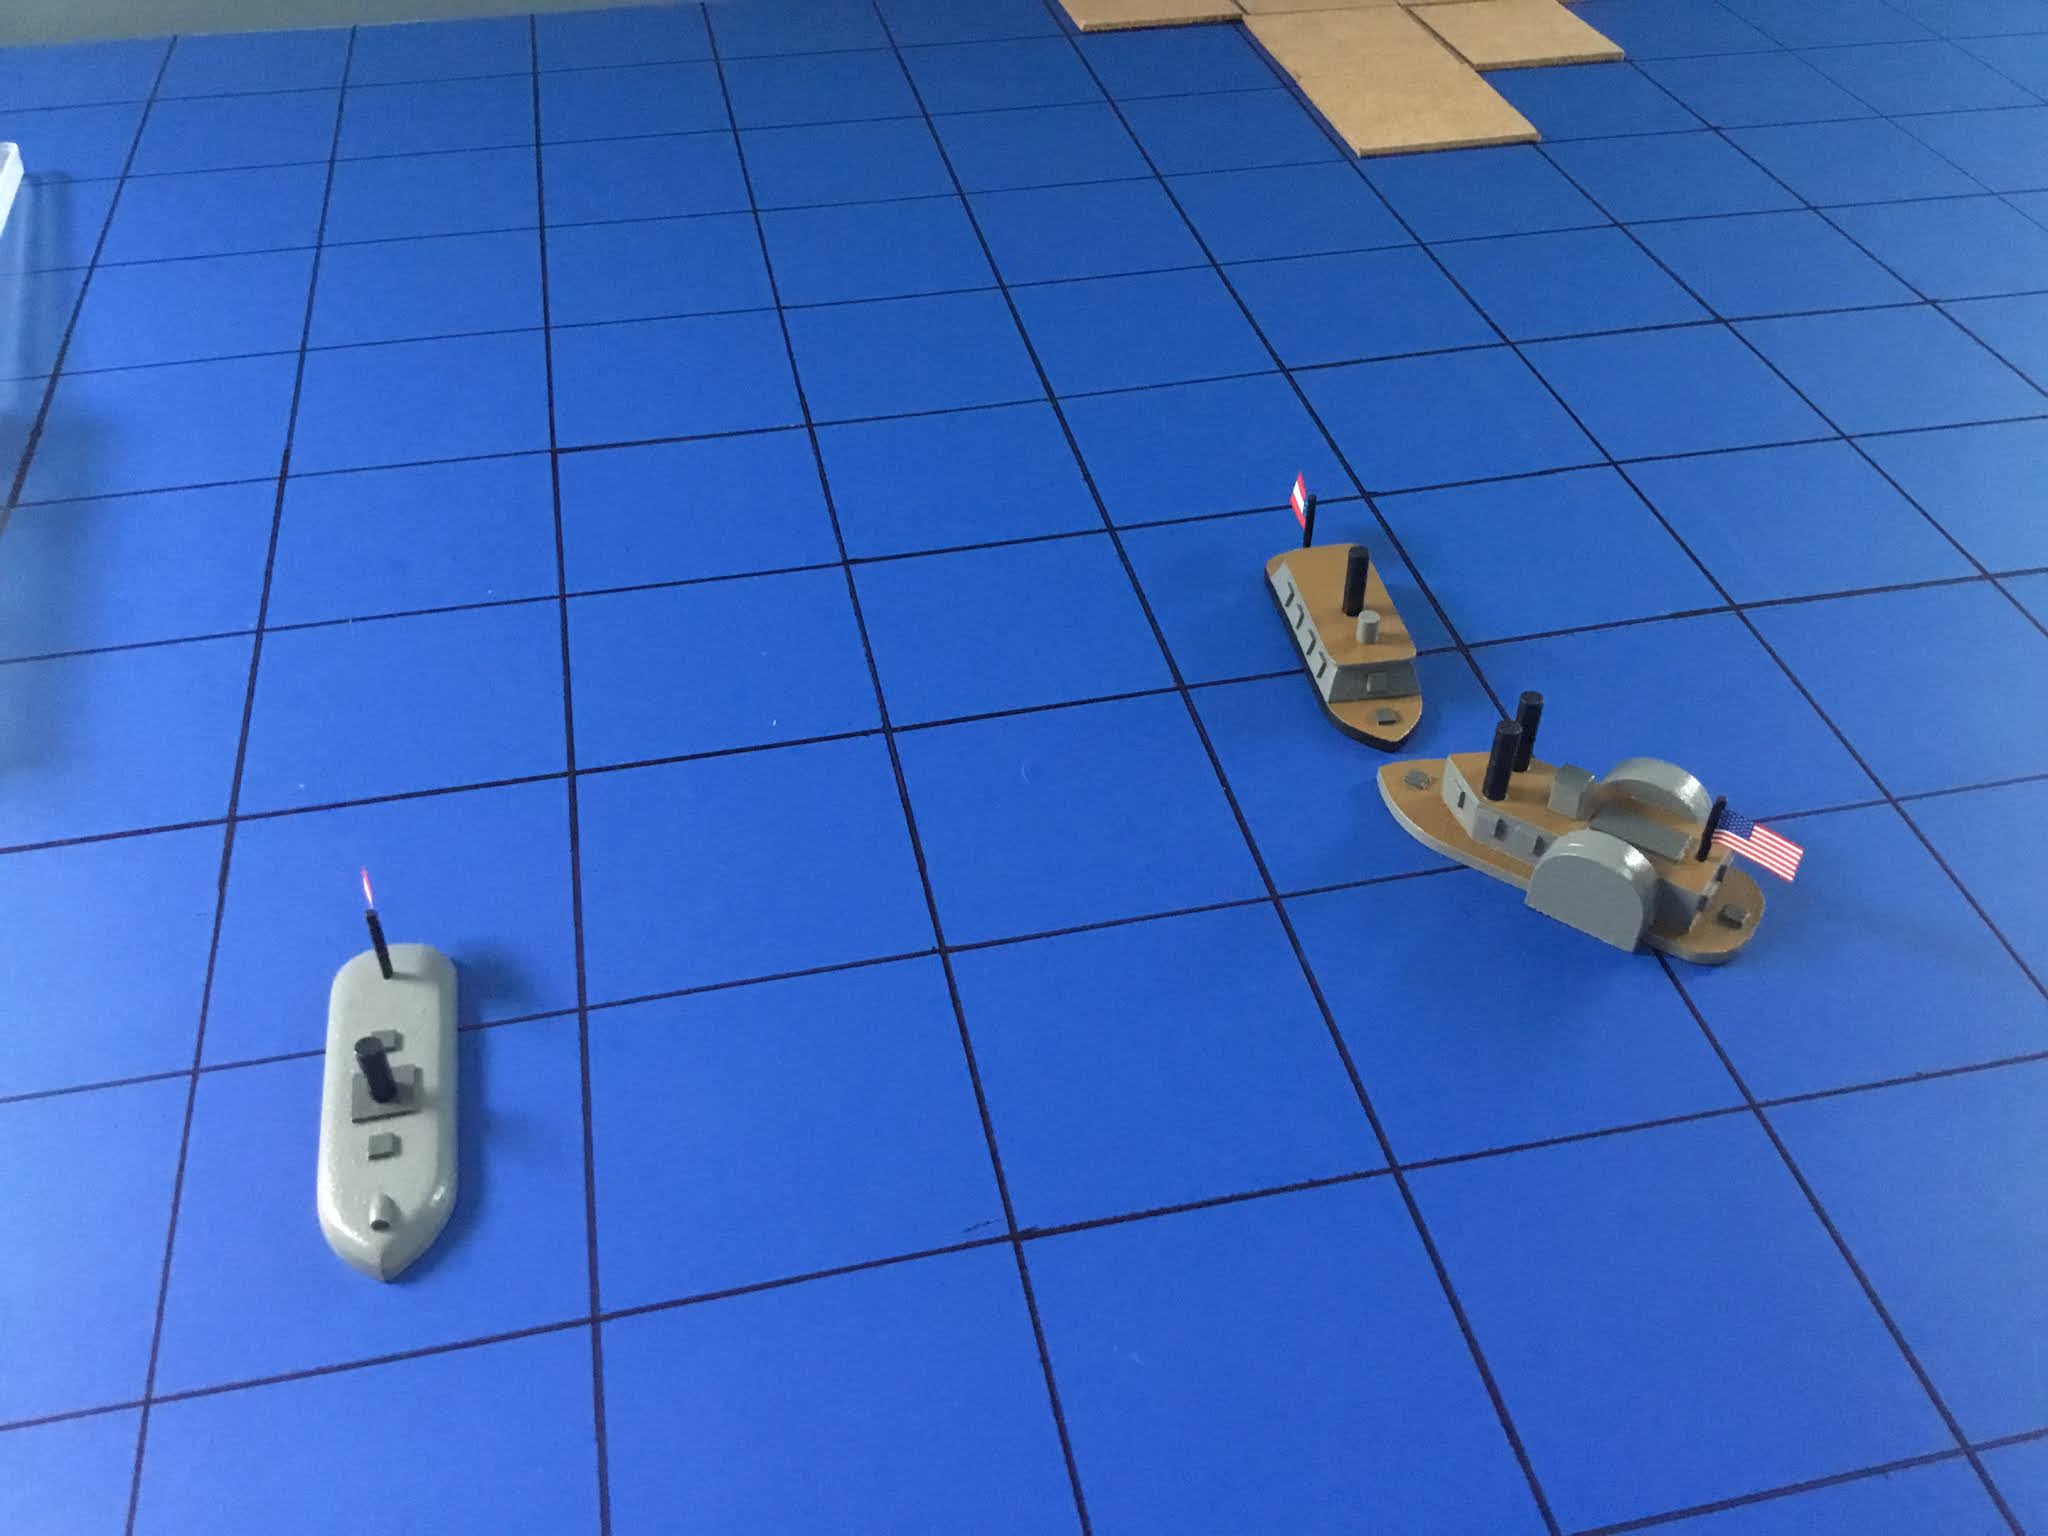
The Union formation, with the U.S.S. Carondelet in the van, followed by the U.S.S. Queen of the West, separates out slightly (the U.S.S. Switzerland is the slowest of the three ships) as they attempt to head off the Rebels. Meanwhile the two Confederate ships form up en echelon in readiness for tackling the Union flagship.
Turn 2. The U.S.S. Carondelet opens fire with 2d6 with no modifiers for penetration/armour (both are +3) so straight dice are rolled scoring a 1 and 5 meaning a single point of damage for the C.S.S. Manassas. The damage roll is a 5 meaning that the steering has been hit reducing her from 3 turns to 2 per turn. The C.S.S. Manassas fires back at the Union flagship, again with an even score - PF2 and AF2 - and scores a 6 and a 5! As the hits were non penetrating there is still a chance that a shot may have gotten through somewhere. For non penetrating critical hits a d6 is rolled and if the score is lower than the number of hits scored then a critical ht is rolled for as normal. With two hits scored a dice of 1 was needed and a 5 was rolled so no critical. The two hit locations came up as 1 and 2 meaning three points of damage across the Flotation Point with the option that 1 could be taken against the armour. The three points were recorded against the Flotation Points - heavy damage, but nothing fatal. C.S.S. Little Rebel also fired at the U.S.S. Carondelet and missed. On to initiative. Union 2 Confederate 5 - once again the Union are forced to move first.

As the U.S.S. Carondelet swings clear of the approaching the Rebel ships the U.S.S. Queen of the West is rammed by both Confederate ships! The C.S.S. Little Rebel rolls 6, 5, 3 and 1 scoring 3 points of flotation damage whilst the U.S.S. Manassas rolls 6, 5, 4, 3 and 2 for a further 4 points of flotation damage - 7 in all! As both Rebel ships scored damaging hits the Union ship is able to roll against them to represent the possibility of self inflicted ramming damage. She scores 2 points against the C.S.S. little Rebel and nothing against the C.S.S. Manassas. The roll for ‘locking together (for the U.S.S. Queen of the West and the C.S.S. Little Rebel) was a 3 so they are able to separate. All vessels are able to make a free turn away and next move may only travel at half speed.
As a result of the ram attacks the U.S.S. Queen of the West has reached her Critical Point and so must now attempt to break off the action at best speed and head for her start line. The position of the ships after their free turns is shown below. This is the only time that ships are allowed to occupy the same squares - the rationale being that they have separated and are attempting to get clear of one another.
Turn 3. The only firing is from the U.S.S. Carondelet at the C.S.S. Manassas which is duly missed. Initiative rolls are Union 4 and Confederate 6 - once again the Union have to move first.

Whilst the Confederates are still to move the Union rearmost ram, the U.S.S. Switzerland crashes into the barely moving C.S.S. Manassas and inflicts a further 2 points of flotation damage for nothing in return. Meanwhile the U.S.S. Carondelet (out of view at the bottom of the picture) continues her wide turn whilst the battered U.S.S. Queen of the West limps away from her two enemies. The Rebels have yet to move.

The C.S.S. Manassas gets away from the U.S.S. Switzerland who now finds herself under attack from the lurking menace of the C.S.S. Little Rebel! The Confederate ship scores two 6, a 3 and a 2 causing four points of damage on the Union vessel. By way of a return she receives a single point but the two ships manage to separate, albeit now facing the same direction alongside one another.
As the U.S.S. Switzerland and the C.S.S. Little Rebel separate so the C.S.S. Manassas prepares to rejoin the fight.
Turn 4. Both the U.S.S. Switzerland and the C.S.S. Little Rebel open fire at point blank range (meaning each roll an extra d6). Both have a gunnery factor of 1but the Rebels have the slight advantage of a penetration factor of 1 as opposed to 0 for the plucky Union ship. The Union score a 6 and 4 meaning 2 hits for 2 points of damage. No critical is rolled (a 2 came up when a 1 was needed). The hit locations were guns and engines meaning that the C.S.S. Little Rebel lost her single point of broadside artillery and one off her speed. The return fire was also two d6 which came up a 1 and a 6 meaning a critical hit was scored (the penetration/armour modifier was +1). The point of damage was recorded against the speed and the critical hit was a 5 - a flood! The already slow U.S.S. Switzerland was in deep trouble! Initiative for the Union was 3 and the Confederates 5 so yet again the Union had to move first.

The battered U.S.S. Switzerland attempted to get away from her assailant but to no avail as once again the C.S.S. Little Rebel rammed her scoring two 5s, a 4 and a 1 leaving the Union ship perilously close to sinking and over her Critical point. By way of a return the Rebel ship did not get off lightly as her own hull was seriously damaged and she too was now over her Critical point - worse still the two ships were now locked together!
Turn 5. The U.S.S. Switzerland rolled a 1 and successfully secured the flood. Both her and the C.S.S. Little Rebel rolled to separate and scored a 6 and a 5 so the tw battered wrecks were able to push themselves clear of each other. Both sides, despite their damage, then open fire on one another - this being the only opportunity a ship that has passed its critical point can fire at an enemy. The U.S.S. Switzerland scored a 6 and a 5 for two hits located as guns and steering - the rebel ship now did not have any operating artillery and could only turn twice a move rather than 3 times. Her return fire came up with a 6 and 2 meaning that there was a critical hit to roll for. This came up as a 1 meaning 2 points off the armour rating or 1 form each of the armour and floatation. The latter option was chosen as her armour factor was only 1.
Both the U.S.S. Switzerland and the C.S.S. Little Rebel were in very poor order having both reached their respective critical points as well as having received other damage. At least the former was facing the correct way in order to make her escape, albeit it at a speed of 2?
Turn 6. Only the U.S.S. Switzerland was able to fire so she promptly did so, scoring a 5 and 4 for two hits on the hapless C.S.S. Little Rebel. The hits were locations were 1 and 4 meaning flotation/armour for the former and engines for the latter. This was enough to sink her - she only had a single flotation point left and no armour rating - and the roll for the duration was a 5 so in that number of game turns she would slip beneath the waters of the lower Mississippi. For initiative the Union rolled 5 and the Confederates 4 so the Union opted to move first.


The Combatants
Thoughts
This was a test of the revised version of the rules I ma drafting and I have to say that it has worked out rather well. I am happy with the combat mechanics of firing, ramming and damage - but want to nail down the whole turning thing as I think I may have over egged it slightly. It is all small beer though so no major problems to incorporate the appropriate revisions.
From the point of view of the game itself the early turns were critical. The Confederates certainly made the right call in making for the U.S.S. Carondelet as with her artillery silenced it would have been a huge advantage to the rebels. As it was she was effectively taken out of the fight by turning away to be able to reengage on more favourable terms. The U.S.S. Queen of the West was fortunate to survive the attentions of both rebel rams but again, was able to power her way out of immediate danger whilst the sluggish U.S.S. Switzerland laboured into action. Her ongoing battle and ultimate victory over the C.S.S. Little Rebel was a brutal slugfest and she was lucky to survive - but survive she did. The C.S.S. Little Rebel had a magnificent action right up until the moment she was sunk - in retrospect going after the U.S.S. Switzerland repeatedly proved to be her undoing although perhaps her captain could be forgiven after the battering he had administered to both the Switzerland and the Queen of the West.
The C.S.S. Manassas could have been more effective but all the action was taking place whilst she attempting to rejoin the fray. Having said that she is a dangerous vessel and I am sure that had the action continues she could probably have accounted for one, maybe both of the Union rams.
I am really pleased to be on the home stretch of this project in terms of the shipbuilding and the rules as it has been enormous fun.
Meanwhile, back to octagonal casemate ironclads....
6 comments:
A very enjoyable AAR David and once again loved the elegantly simple look of the ships and the board. As I've gotten older this sort of game appeals to be much more than my earlier days: maybe a case of "less is more"?
Hello there Steve J,
Thank you old chap - much appreciated! When I get to the terrain I will be trying to keep it stylised and functional to keep in with the look of the ships and you are quite right - less is definitely more!
All the best,
DC
Man you are having fun with this stuff
Respect
Hi Geordie,
Many thanks old chap! It has been a whole lot of fun!
All the best,
DC
I couldn't put it better than Steve J. Thank you David.
Best wishes. Jim
Hello there Jim,
Less is certainly more and this is something I am embracing fully!
Onwards and upwards!
All the best,
DC
Post a Comment